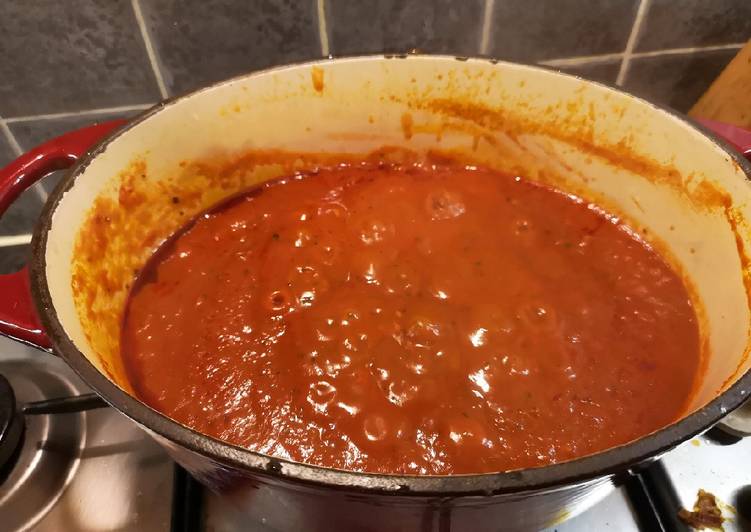
Hello everybody, hope you are having an amazing day today. Today, we’re going to prepare a distinctive dish, easy braised "teriyaki" chicken. One of my favorites. For mine, I am going to make it a bit unique. This is gonna smell and look delicious.
Great recipe for Easy Braised "Teriyaki" Chicken. Our kids love the flavor of regular Teriyaki Chicken, but sometimes I'm not up to the work of it. This braise hits all the notes and makes my life easier.
Easy Braised "Teriyaki" Chicken is one of the most well liked of recent trending foods in the world. It’s easy, it’s fast, it tastes yummy. It’s enjoyed by millions every day. Easy Braised "Teriyaki" Chicken is something which I have loved my whole life. They’re fine and they look fantastic.
To get started with this particular recipe, we must prepare a few components. You can cook easy braised "teriyaki" chicken using 9 ingredients and 6 steps. Here is how you can achieve that.
The ingredients needed to make Easy Braised "Teriyaki" Chicken:
- Make ready 3 pounds chicken wings, drums or thighs, patted dry and seasoned with 3/4 teaspoon kosher salt
- Take 1/2 an onion, cut into 1/4-inch wide pieces
- Take 6 thin slices of fresh ginger root (about 1/8-inch thick) or 1/2 teaspoon dried ginger powder
- Take 6 cloves garlic, peeled and smashed
- Take 1/4 cup + 2 Tablespoons soy sauce
- Take 2/3 cup rice wine (you can use sake or a semi-dry white wine)
- Make ready 1/4 cup + 2 Tablespoons sugar
- Make ready 1/2 cup water
- Make ready 1 chopped green onion for garnish
Get started with Soy Vay's collection of tasty recipes!. Teriyaki Chicken thighs made in the oven with an easy and delicious marinade is one of the best tasting chicken recipes that your entire family will love!. You will love this homemade sticky, sweet and salty sauce that coats the tender pieces of chicken! Plus, this dinner cooks up quickly, making it perfect for a busy weeknight dinner.
Instructions to make Easy Braised "Teriyaki" Chicken:
- Put all the ingredients into a 4 or 5 quart Dutch oven or a large, deep saute pan, with the chicken skin side down. Bring to a gentle boil, covered, over medium heat.
- Once it comes to a gentle boil, let it stay there for about 2 minutes. Give the chicken a gentle stir or two to redistribute the ingredients then turn the heat down to medium low and simmer, lid askew for another 25 to 30 minutes, flipping the pieces of chicken mid way so the skin side is up.
- 15 minutes before the braise is over, preheat your oven broiler so you can brown and caramelize the chicken skin. Once the braise time is up, put the chicken about 6 inches under the broiler for 3 to 5 minutes, depending on how brown you want the skin, but making sure to check at 3 minutes. I say this all the time, but things can go from perfectly caramelized to horribly burnt in a matter of seconds under the broiler.
- NOTE FOR STEP 3: If you have one of those broiler drawers under the oven, preheat the oven to 500F instead and place the pot so that the food is 6 inches under the top heat element. Probably the second rack in the oven.
- Transfer the chicken to a serving dish (or serve it in the pot in which you cooked it), garnish with chopped green onions and serve with steamed rice and a salad of choice.
- Enjoy! :)
I've shared other teriyaki chicken recipes like my Grilled Teriyaki Chicken Bowl but this hands down beats the prep and cook time on any other teriyaki chicken I've tried. And yet it tastes just as good! Plus it's such a flavorful sauce so it doesn't even require marinating. In a large, deep ovenproof skillet over high heat, heat oil. Season chicken with salt and pepper.
So that is going to wrap this up for this exceptional food easy braised "teriyaki" chicken recipe. Thank you very much for reading. I’m confident you can make this at home. There is gonna be more interesting food at home recipes coming up. Remember to save this page on your browser, and share it to your loved ones, colleague and friends. Thank you for reading. Go on get cooking!